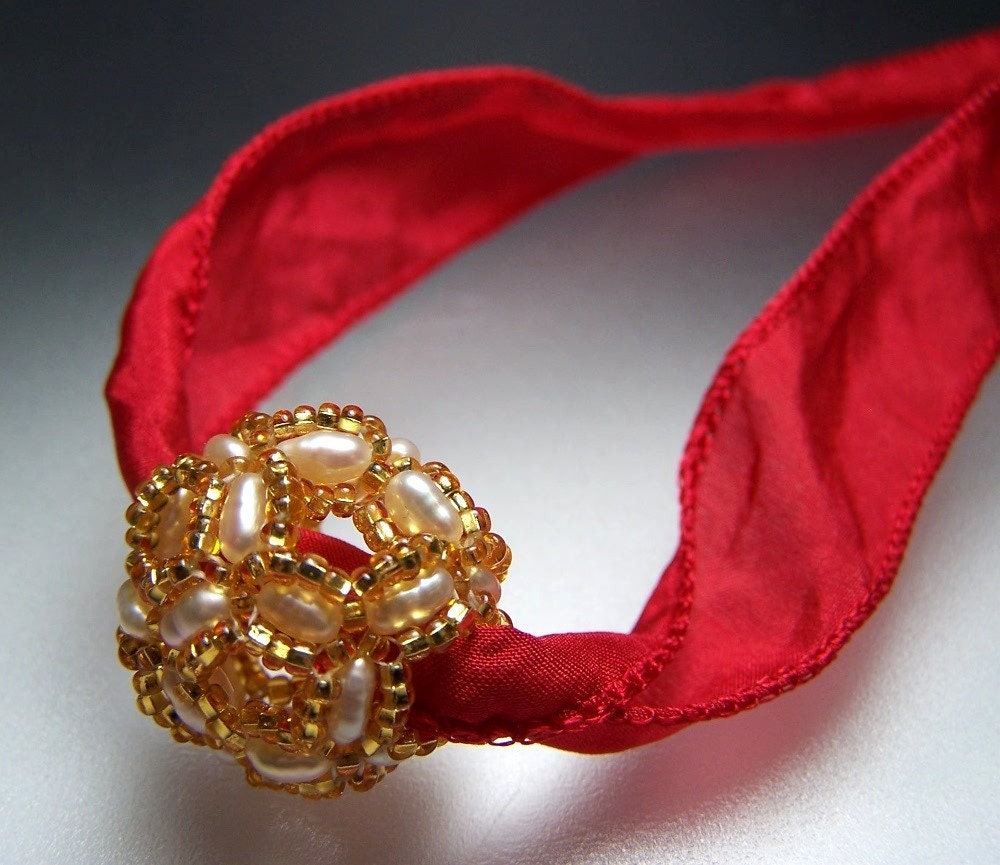
Thanks to BeadOrigami's awesome Bubble Beaded Beads tutorial, I've been on a beaded bead roll these past few months! After a few bubble beads and variations thereof, I moved on to a basic embellished 'plum blossom' design, adapting the widely-used pattern with strategic bead placement/substitution, and a lot of experimentation. I now have a heap of them, and call them Scooplets, because they look just like tiny scoops of ice cream! I wear them individually on a simple cord or silk ribbon, or incorporate them into jewelry, as in my black and gold Final Mystery necklace.You can get tutorials on the Bubble Beaded Bead from BeadOrigami, 1BeadWeaveror a number of the sources linked above.

Each of these beads is the exact same basic pattern, varying only in the type of beads selected, and the amount/placement of embellishment. For example, in the gold and black necklace, I stitched the bead in the basic pattern, in 3mm beads, embellishing each hole except on each end.
The second pearl, gold and red necklace, I used pearls and increased the gold bead count to accomodate the longer pearls.
Continuing down clockwise, I used 3mm beads and long teardrops in the orange bead.
The aqua bubbly bead used 4mm beads and fringe seed beads, plus some silver 11/o embellishments.
The next bead uses 6x4mm crystal rondelles in the main body, and 4mm firepolish at each end. A silk ribbon was strung with a teardrop dangle, then both ribbon ends were strung through the scooplet, hanging the scooplet vertically.
The last bead uses 4mm and 3mm beads, the 4mm beads used along the 'equator' of the bead, creating a saucer shape, rather than a round.

3 comments:
Thank you! This tutorial is very easy to follow.
Oooh, those are just lovely. :O They look like a million bubbles.
Awesome bowl of beaded beads! They look just like ice cream scoops... I'm so glad that you derived so much inspiration from my tutorial!
Post a Comment